How to Make Fabric Roses in 20 Minutes
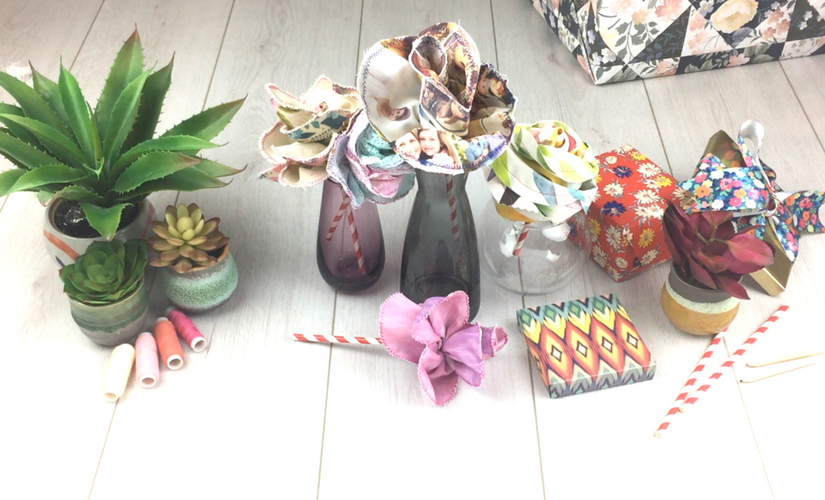
I’m not going to lie, I genuinely struggle to keep plants alive, that’s why my home is filled with those of the plastic variety. But let’s be honest, they’re no fun. As a way to bring vibrancy and life to your room whilst at the same time enjoying a creative activity, we’ve made this fancy floral video tutorial on how to make fabric roses. Whether crafts is a keen passion of yours or you’re simply looking for a way to channel some creative energy, sewing projects like this are perfect. And what’s more, this one only takes 20 minutes!
To make your fabric roses even more special, you can design your own fabric here and create a bouquet that’s truly unique. From favourite family photos and vintage inspired patterns, to kitsch designs and contemporary prints, the choice is entirely yours! We recommend using fabrics that can hold their shape and have a little natural stiffness. We’ve used cotton poplin in our tutorial, but other fabrics that work well are organic half panama, real silk and for something a little more quirky, try the crochet lace.
So to learn how to make fabric roses step by step, watch the video and/or follow the instructions below. Happy crafting!
Step-by-Step Guide on How to Make Fabric Roses
Sewing projects like learning how to make fabric roses are so fun and rewarding. Make a whole bunch for a beautiful homemade gift, or simply decorate areas of your home that need a little sprucing up.
Firstly though, you’ll need a few things in order to make your fabric roses:
- Strip of fabric (preferably customised, of course)
- Card
- Scissors
- Paper straws
- Button thread
- Coloured thread
- Sewing machine
- Glue gun (or superglue equivalent)
Step 1
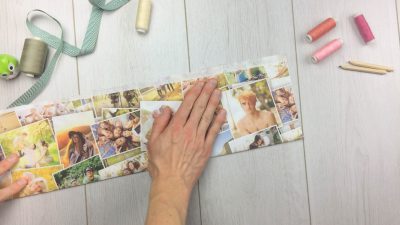
Press your fabric strips in half and open the fabric out again.
Step 2
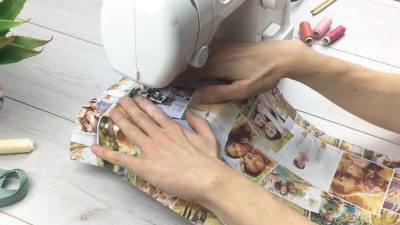
Using a strong button thread in your bobbin, sew a Long Gather Stitch along the fold. Leave a long string of thread.
Step 3
Fold your fabric in half, and place to one side.
Step 4
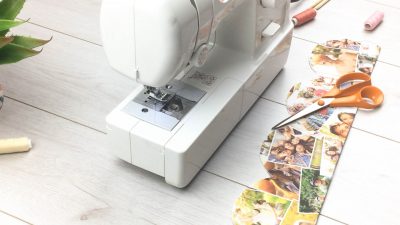
Take a 10 x 10 cm square of card.
Step 5
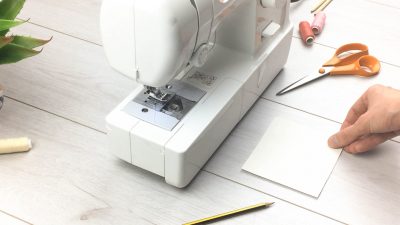
Using a small round object, draw a semi-circle around the top of the card.
Step 6
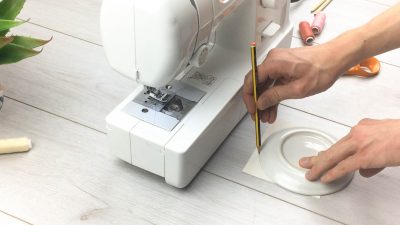
Cut along the curved line, rounding off the top of your card template.
Step 7
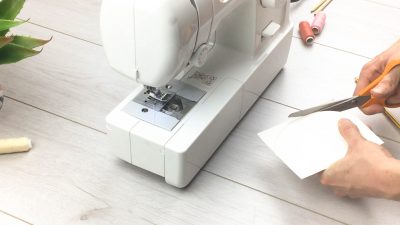
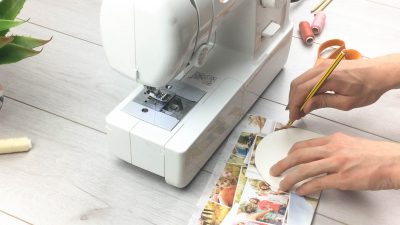
Place your card template on your fabric strip.
Step 8
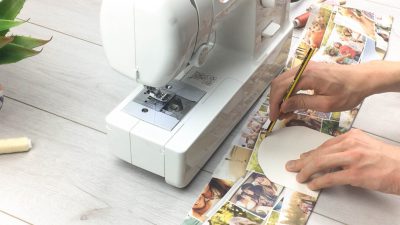
Draw around your template, placing it end-to-end along the fabric. Leave a short, 10cm tail at the end.
Step 9
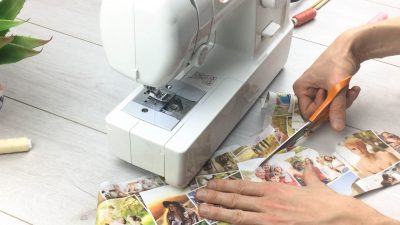
Cut along the template line.
Step 10
Switch your bobbin to a coloured thread.
Step 11
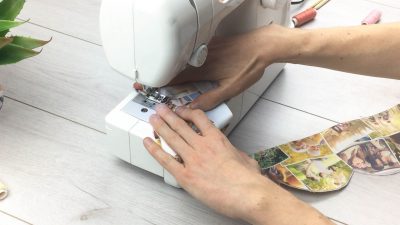
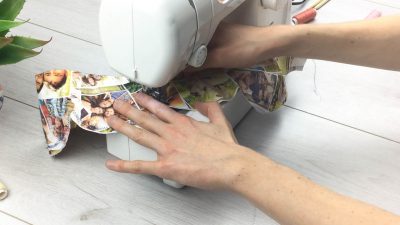
Using a Zig-Zag Stitch, sew along the scalloped edge of the fabric.
*Don’t worry if you make mistakes! This technique looks best with a rough, rustic look.*
Tip
When you need to turn a tight corner, insert the needle, lift the foot, and pivot the fabric.
Step 12
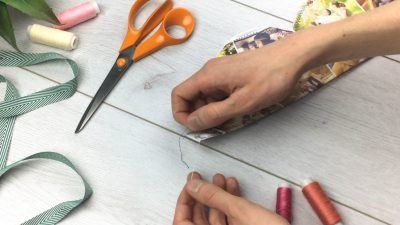
Find the strong button thread in your gather stitch.
Step 13
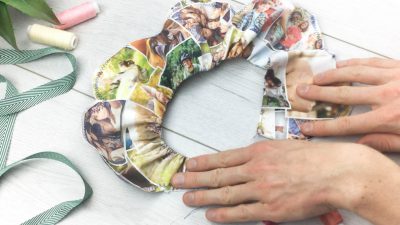
Pull the thread firmly but slowly, gathering the fabric as you go.
Step 14
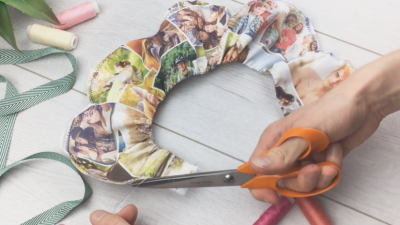
When you’re done, tie off your thread and trim the ends.
Step 15
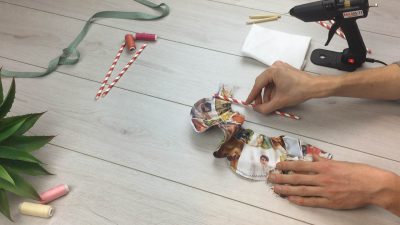
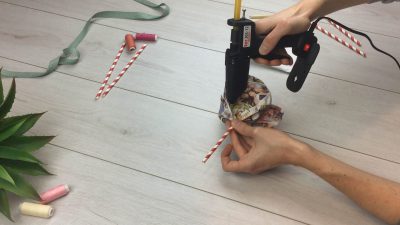
Glue your straw to the tail end of your Fabric Petals, close to where the petals begin.
Step 16
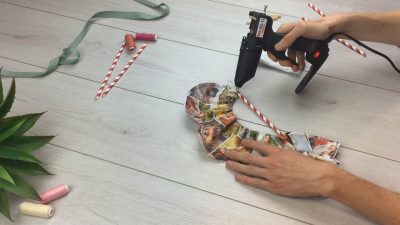
Wrap the tail around the straw, hiding the top of the straw from view. Glue into place.
Step 17
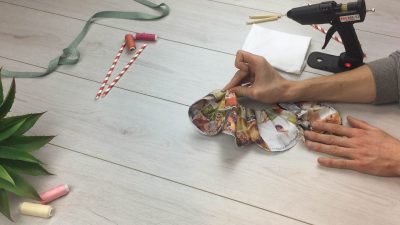
Glue along your Gather Stitch, and begin to wrap the Fabric Petals around the straw.
Step 18
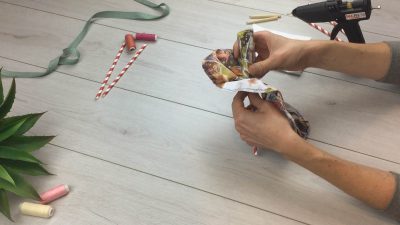
Continue wrapping the Fabric Petals around the straw, gluing as you go.
Step 19
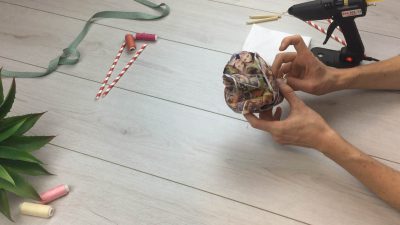
When you reach the end, pinch your petals to the straw, gluing them firmly.
Step 20
Glue the end of your Fabric Petals to the base of your rose blossom. Arrange and fold the fabric petals to your liking.
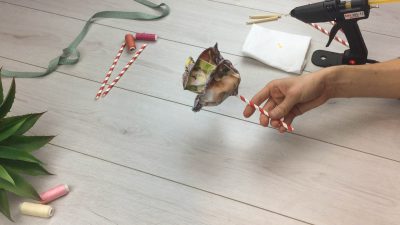
?Admire and enjoy your fabulous flower! ?
Design your Own Fabric for Sewing Projects
Now you know how to make fabric roses, the sewing world is your oyster! Design your own fabric for your other upcoming DIY and sewing projects. Just click the banner below.
