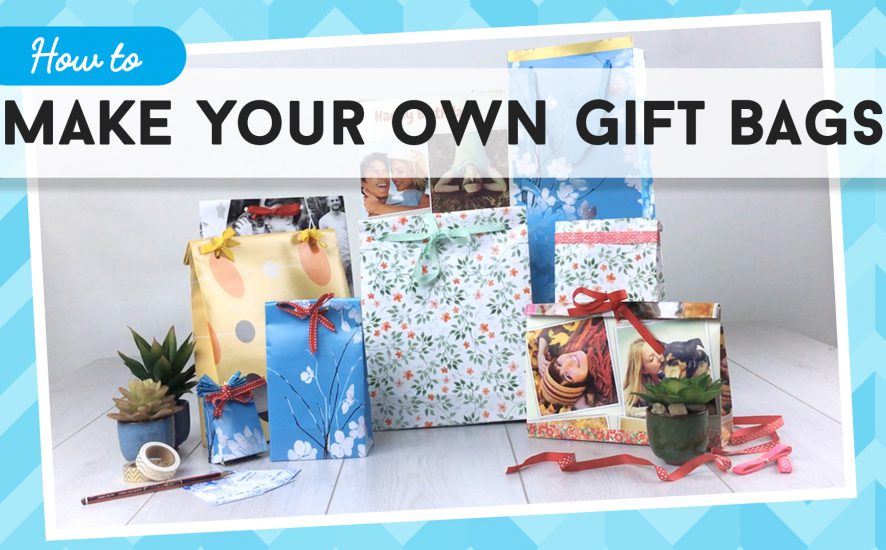
At Bags of Love, we have a bit of a thing about DIY crafts, and tutorials. With that in mind, we decided to create a brand new video tutorial on how to make a gift bag. Using personalised wrapping paper, we made this fun, and nifty craft tutorial, which is perfect for anyone to take on. Whether you are a craft newbie or tinker with tutorials regularly, we guarantee, you will love learning how to make a gift bag.
How to make a gift bag from wrapping paper video tutorial
This how to make a gift bag tutorial is ideal for so many occasions. Store bought gift bags can be limiting in size, shape, and design. They can also be downright expensive!
By learning how to make a gift bag from wrapping paper, you can design it however you like. This is also perfect for those awkward shaped gifts, that no one really knows how to wrap, without making a bit of a mess! With this tutorial, you can use any size wrapping paper, as long as it is big enough to hold the gift. Surprise your nearest and dearest with a present, presented in its very own personalised gift bag. To take things up a notch, design your own wrapping paper first.
Step by step guide to making your own gift bag
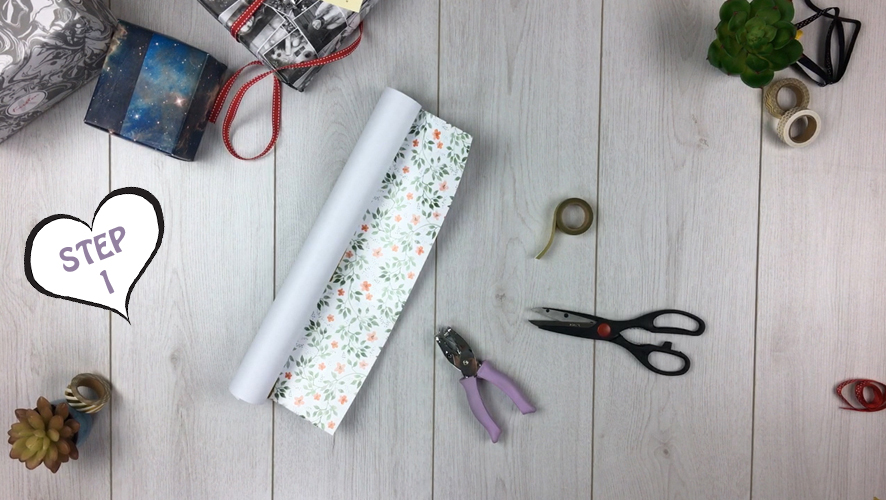
Step 1
Here is what you will need to make your gift bag from wrapping paper:
- Wrapping paper: any size will do as long as it is big enough to hold the gift you will be inserting. Ensure the paper is square or rectangular
- Scissors
- Sticky tape: we love using washi tape, as there are so many cute designs available
- Ribbon: any width as long as it can be threaded through the hole punch holes
- A hole punch
We designed our own paper using the Bags of Love personalised wrapping paper. This is such a fun way of enhancing the project, as you can make a completely customised gift bag. To go that extra mile, you can create your own ribbon and labels too!
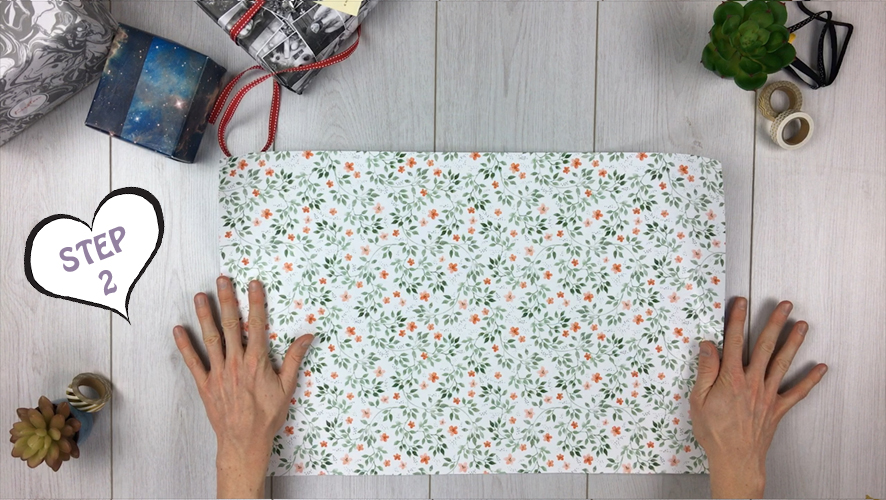
Step 2
To make a gift bag out of wrapping paper, you can use any size paper, as long as it can cover the gift. We find using square or rectangular paper works best. Once you have your chosen wrapping paper, you need to lay it out on a flat surface, ensuring you have enough space around you.
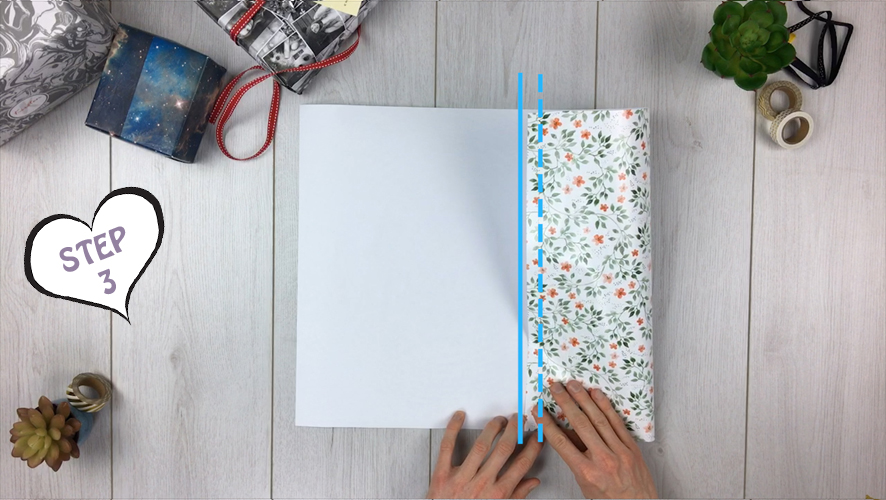
Step 3
Next, turn your wrapping paper over, so that the printed side is facing the table. Mark the centre line gently with either a pencil mark or a soft crease. Now, fold the first side of the paper 1cm over the centre line.
Step 4
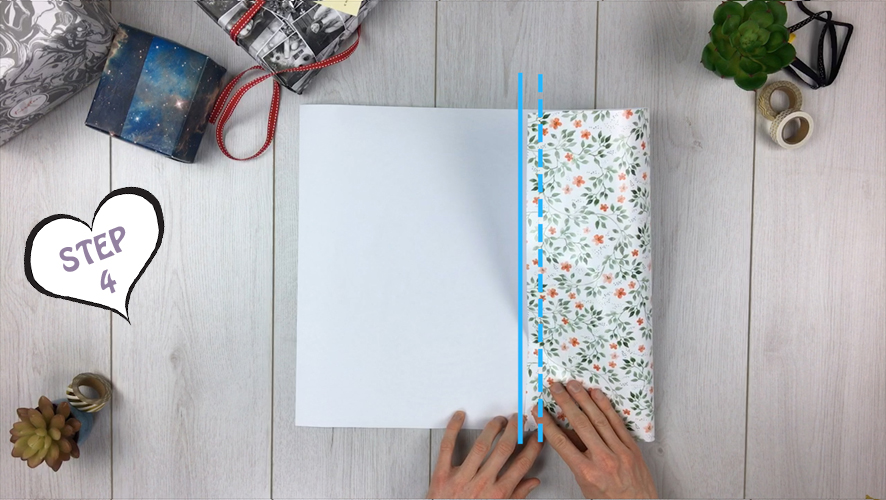
Now, fold the second side of your wrapping paper to overlap the first side by 1cm. Tape down the seam to keep it in place. We love using a decorative sticky tape, such as washi tape, to add some extra colour and fun to the finished bag. Try using complementary colours for a more sophisticated look, or something totally different to make it stand out even more!
Step 5
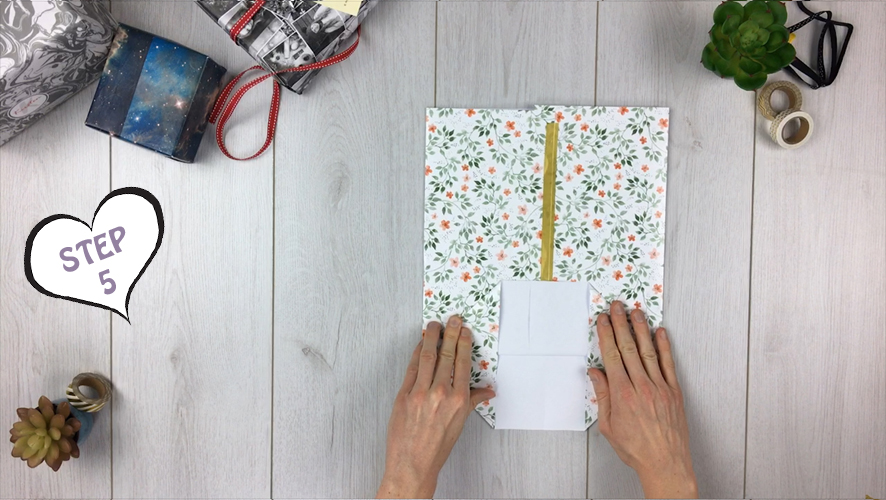
Next, fold the bottom of the gift bag up, opening the seams and pressing them down firmly.
Step 6
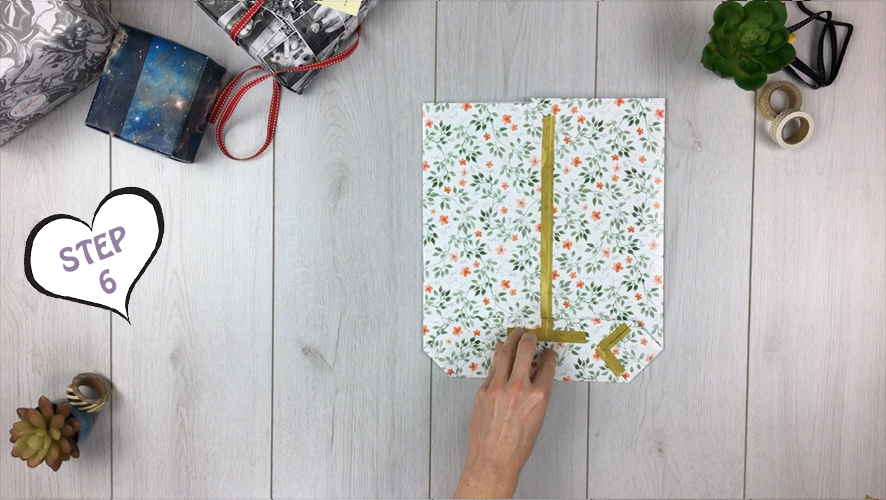
Fold the sides over the centre line. Press them flat and tape them so they are secure. You can used tape over the whole seam, or just part of it.
Step 7
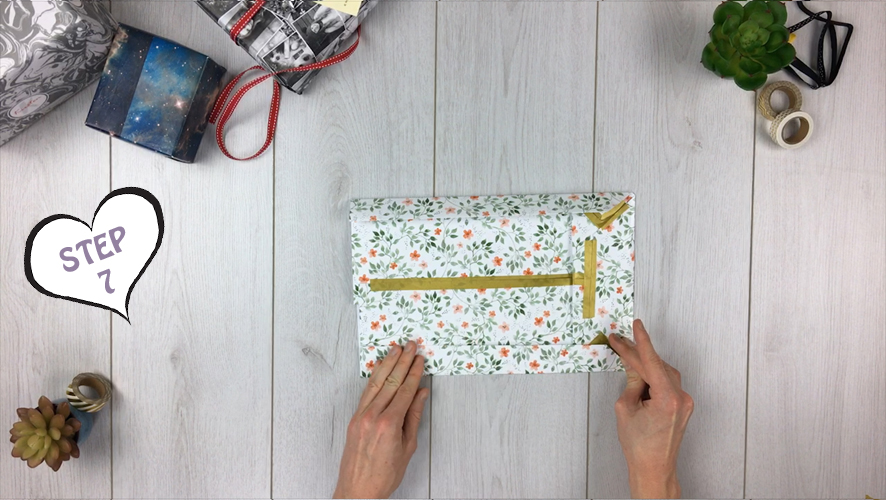
Next, you need to fold the sides of the bag, so that the points of the base meet as shown in the image below. You have now created the base of your homemade gift bag!
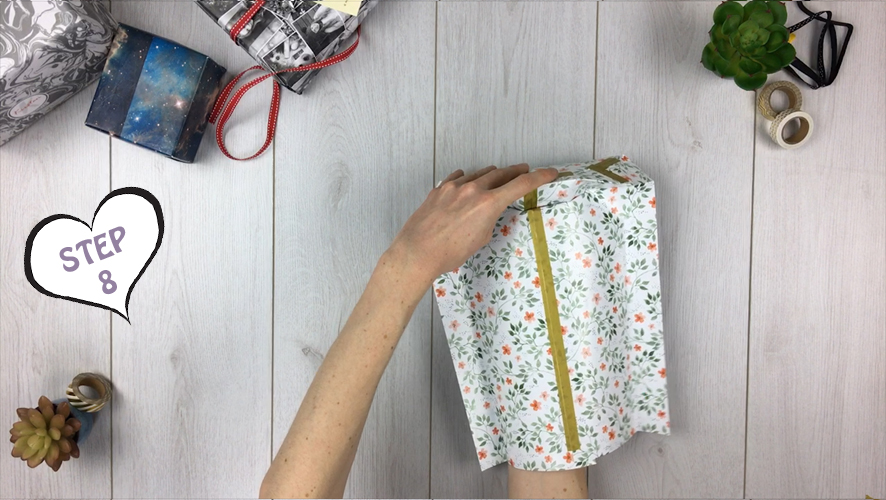
Step 8
Once your base is finished, and taped securely, you can unfold your gift bag, and open it out. Place your hand into the bag, and gently open it up, ensuring the seams remain taped securely.
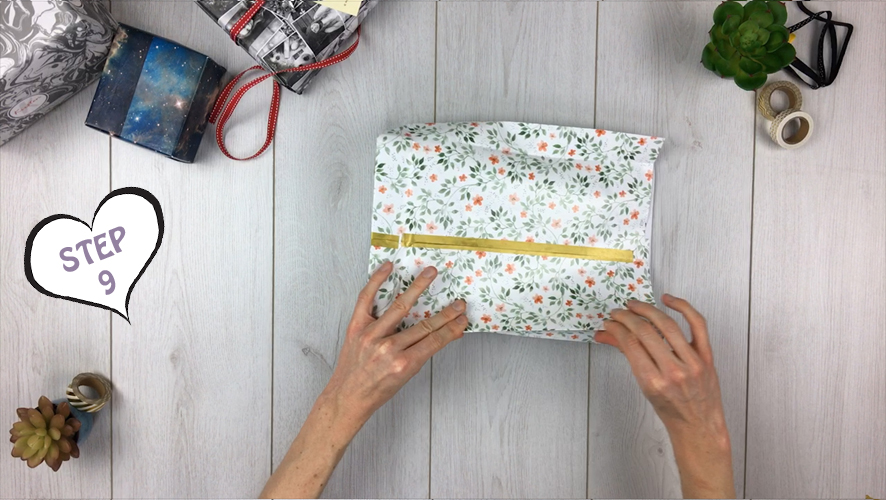
Step 9
With your hand still placed inside the bag, invert the creases on both sides of the bag, pressing lightly. The edges should fold inwards, producing a square, flat base. The base should remain in tact, but feel free to add a little more tape, if the gift is particularly heavy.
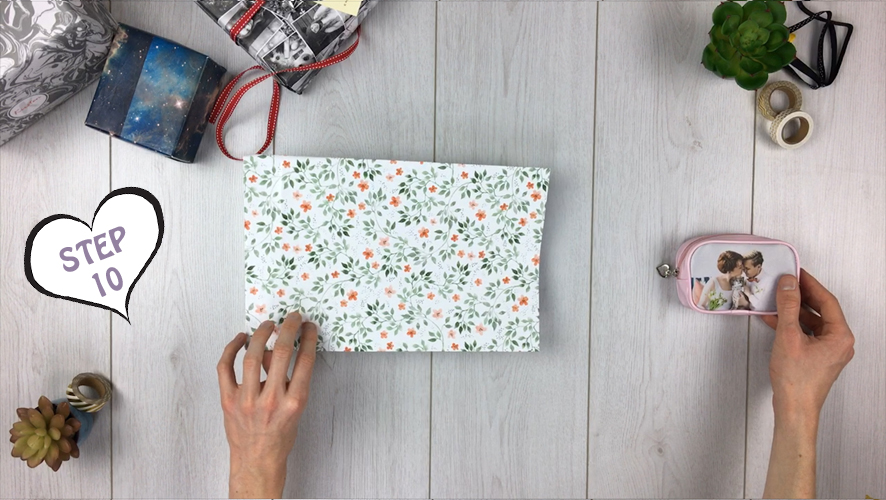
Step 10
It’s time to add the gift! Pop it in through the opening of the bag, and lay the gift bag flat.
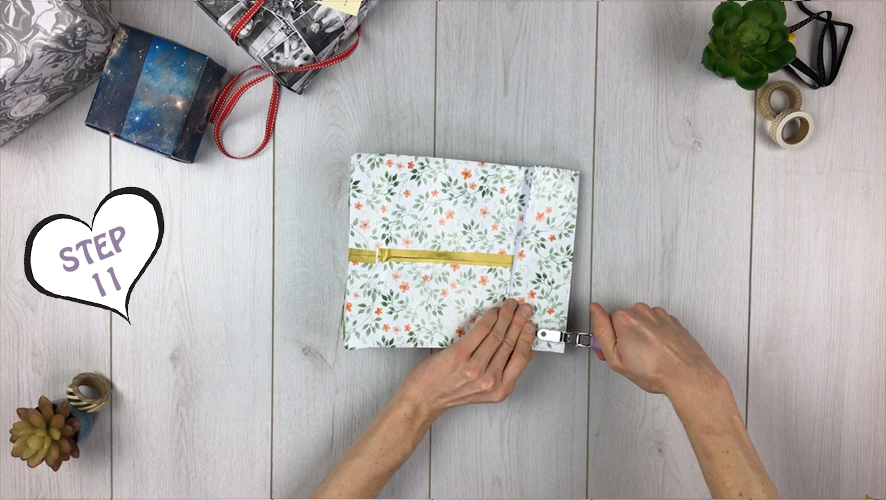
Step 11
Let’s secure your present. Fold the top of the gift bag down, twice, and punch a hole on either side of the fold. Use a hole punch to ensure the holes are level and symmetrical.
Step 12
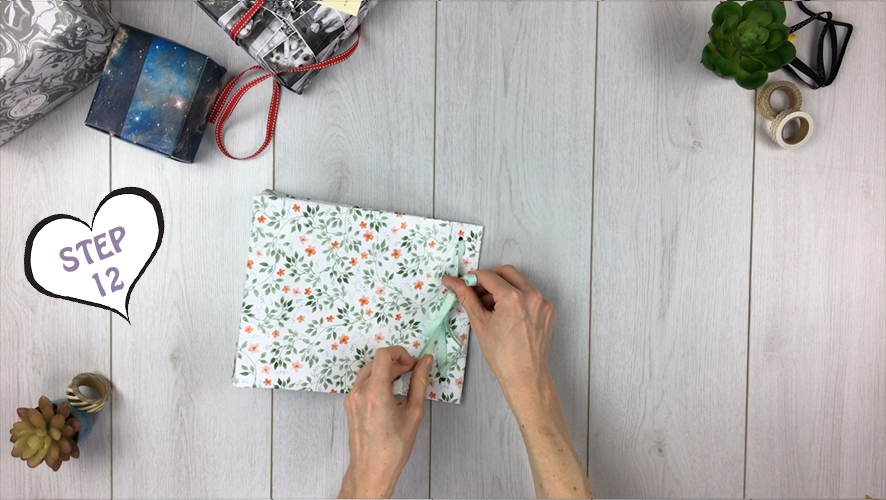
Let’s make the gift bag even more tempting! Get your ribbon and thread it through the holes. Use your bow making skills and tie a pretty bow. This will not only keep the bag closed, but it will make it look even more gorgeous. Again, use whatever kind of ribbon you like. Something contrasting or complementary would work equally well.
Step 13
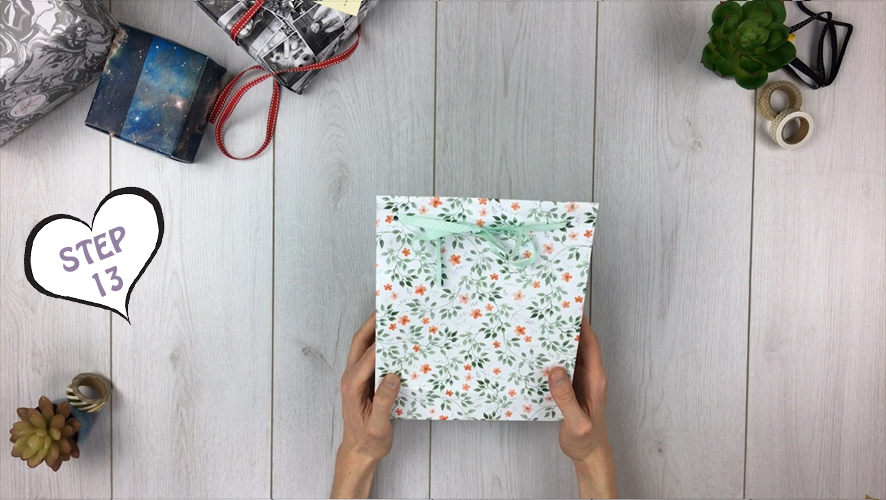
You’re all done! Stand back and admire your work.
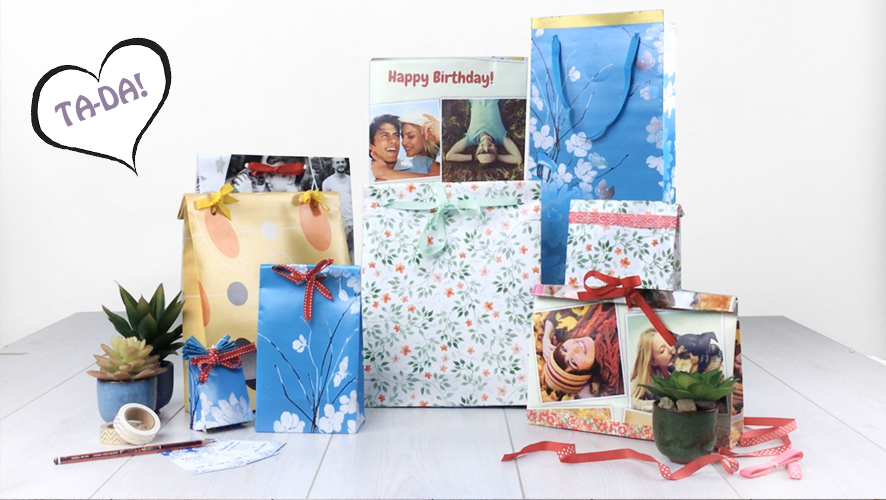
Why not create a gift bag out of wrapping paper for every occasion?
To create personalised gift bags for anyone, all you need to do is follow the above steps with different pieces of wrapping paper. Not only do these bags look great, but they are custom made to fit the gift. Just make sure that every piece of wrapping paper you use is large enough to hold the gifts. Then have fun creating gift bags out of wrapping paper for every birthday, Christmas, Valentine’s and anniversary gift.
Make each gift bag personal to the receiver, by designing wrapping paper featuring photos, favourite quotes, artwork, or even your children’s doodle masterpieces.
Are you ready to get started? Click below to start designing your own personalised wrapping paper. Have fun and make sure you share with us your finished gift bags.


Really lovely idea, ideal for gifting small items made when they can be made to measure.
GIFT WRAP